Showing posts with label Tutorials. Show all posts

Wednesday, May 4, 2011

Prima Felt Gate Tutorial

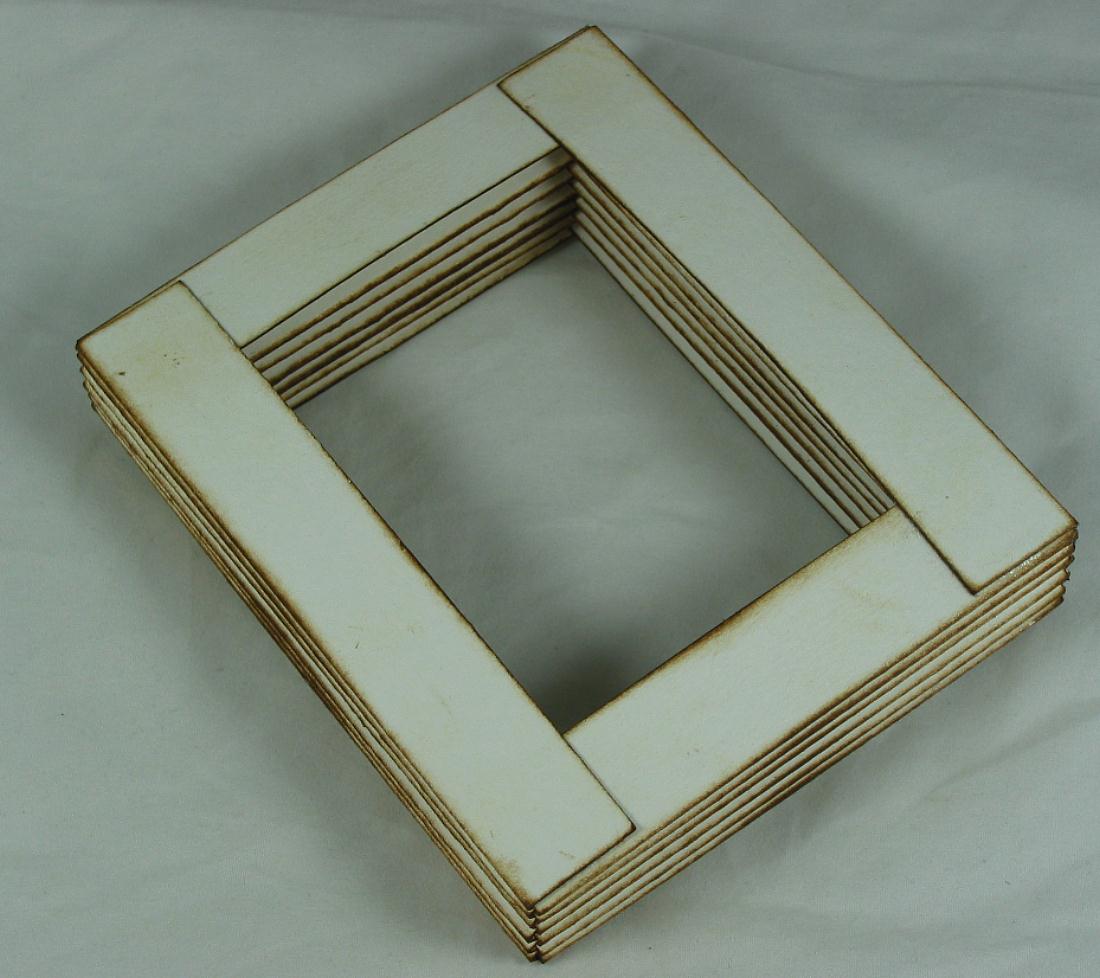
I'd like to show you how I created this card using the Prima Felt Gate. Which can be purchased HERE at McMahon Five Designs.
Materials needed:
Heavy card stock paper. I use Canson water color paper that comes in a pad that measures 12"X18" you can find it at Michaels's Crafts Store (don't forget to use your coupon)
Grafix Clear Craft Plastic
Prima Felt Gate
Ruler
scissors
scoring tool
adhesive
hole puncher
ribbon
Designer paper
embellishments
**********************************
Cut a sheet of the clear plastic measuring 6 1/4"X 6"

Pull backing off the Prima Felt Gate and carefully apply it to the plastic lining it up as close to the bottom as you can as well as the right side, leaving 1/4" along the left side for your holes.

This is what your gate should look like applied to the plastic.

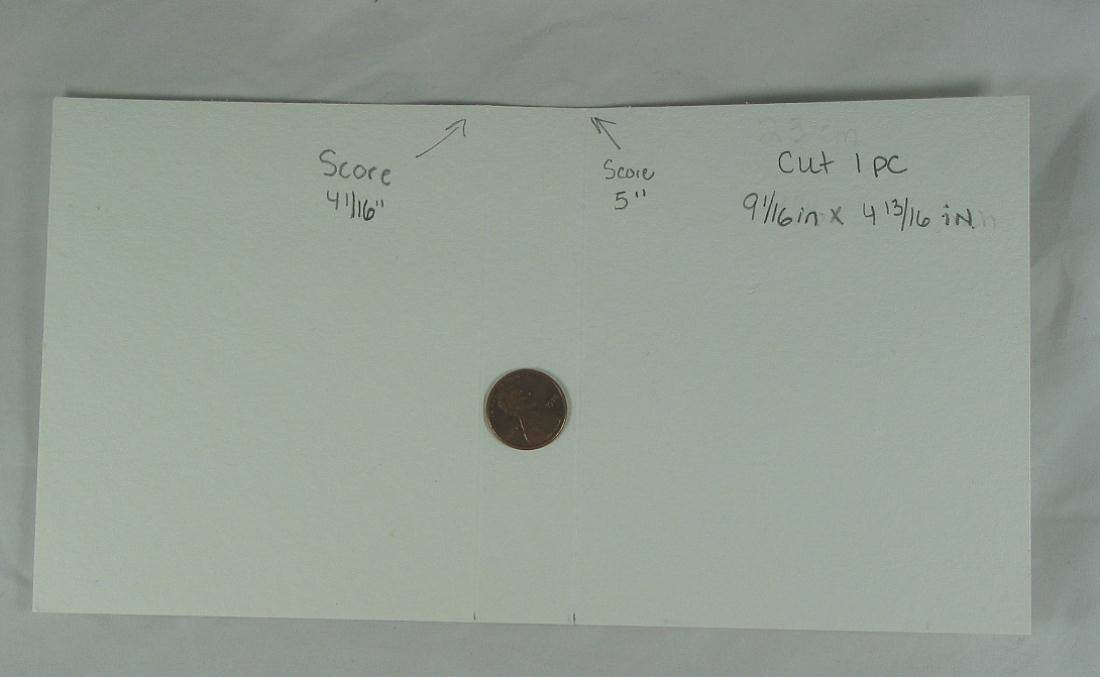
Cut a piece from your heavy card stock that measures 12 1/2"X 6"
and score at 6 1/4".
This piece will end up being your card that will get attached to your Prima gate.

(Once again please excuse my penny it's placed there so my camera has something to focus on)

Next fold down your scored line. Along the left hand side very lightly draw a line at 1/4" this will give you a guide as to where to line the marks to punch your holes. Next mark 3 X's one at 1 3/4", 3 1/2" and 5 1/4 " and punch holes over the X's. Carefully line your plastic piece with your Prima gate onto the top of your card and punch holes through the plastic as well.
Before I tied my plastic piece to the card I carefully cut the plastic as close to the top of the felt gate as possible. I think it looks better with that part cut away.
Before you embellish make sure you erase all your pencil lines.

Here you see how the plastic piece lines up to your card showing the holes on the left. You can use ribbon, lace or jump rings to hold your card together. I chose some pretty lace that I simply tied in a knot.

I used lots of roses to embellish the front of my gate

You are now ready to embellish your card as you see fit...
I hope you will give it a try.

Thursday, April 21, 2011

M5D new image release and a Step by Step Tutorial

Good Morning I hope every ones weeks has been great thus far. I have been busy putting this book- box/card together. I saw it somewhere out in blog land a while ago and it's been on my to-do list forever. I really wish I knew where I saw it so I could give that person credit for their creativity. I used one of McMahon Five Designs newest digi called "Mommies Hat". Isn't she adorable? I just love her big fluffy feather.
Supplies Needed
Heavy paper (I use Canson water color paper)
Ruler
Scissors/paper cutter
Scoring tool
Ink
Glue/Double sided tape
Decorative Punch
Designer paper
Lace/ribbon
Embellishments
*********************************
 cut 2 pieces of your water color paper measuring 10cmX 24cm
cut 2 more pieces of water color paper measuring 12cmX 24cm
(sorry the penny is just a focal point for my camera)
Score all the way down the long side at
2cm, 4cm, 6cm, 8cm, 10cm, 12cm, 14cm, 16cm, 18cm, 20cm, 22cm
Follow these directions on all 4 pieces
When you score and fold they should look like an accordion
If you prefer to ink them do so now before gluing
Take one of the 10cm pieces and one of the 12cm and stack the folds
Glue just the end flaps
This show the flaps on both sides
Make sure you hold it firmly until the glue is dry
Follow the same directions with all 4 pieces
When it's all glued together it should look like this.
Just a side profile showing the inside and out.
Cut 2 pieces of the water color paper measuring 12 1/2cmX 3cm
Cut another 2 pieces of water color paper measuring 10.16cm or (4 inches) X 3cm
(Sorry I forgot to write X 3cm on my picture)
Take your decorative punch and punch all 4 pieces and ink them up
When you glue them onto the box they should look like this
Just a side profile
Cut a piece of you water color paper measuring 9 1/16 in X 4 13/16 inch
Score at 4 1/16 inch and 5 inches
This will be the book cover
(Oopsies I just realized I switched from cm to inches)
Cut out panels for all sides of the book cover
Before gluing you cover on glue one strip of your lace or ribbon
Follow these direction for the inside bottom glue the ribbon and cover it with your decorative paper
Glue down your panels and book to the right side of the book cover
embellish as desired
I really really hope you give this a try and if so I would love to see your creation.
 Good luck and have fun!
Hugs Bonnie

Thursday, April 14, 2011

McMahon Five Designs New image and Tutorial

I am very excited to show you today's Easel card that I created using one of McMahon Five Design newest image. I also included a step by step tutorial on how I put it all together.
********************************
Supplies needed:
Card Stock
Designer Paper
Ruler
Scoring Tool
Glue or double sided tape
and your embellishments
******************************
Cut one piece of card stock measuring 6"X 12" and score at 6" and at 9" on the long side. This will be your base.

Take a second piece of card stock and cut measuring 6"X 6". This will be your card topper.

Fold base card stock along the scored lines and it should look like this.

Cut some designer papers to create your card topper. I inked my edges with Vintage Photo Distress ink.

I colored in my lovely image using my beloved Copics and created a frame for her, also inked the edges with Vintage Photo Distress ink.

Here is my completed card topper

I applied double sided tape on the base only where shown. The bottom half of the card topper will attach here.

And should look like this.

Inside bottom of card. Please note that when I embellished the base I added a 3-D embellishment so that when the card is in the open position it will rest against the embellishment and not slide closed. Oh I hope that made sense.

Front view of completed card

Side view of completed card.
I hope you have enjoyed today's tutorial and that you will give it a try. Please let me know if you do, I'd love to see your creation.

Thursday, April 7, 2011

McMahon Five Designs and Basket making Tutorial

I am so very excited to show you today's project that I created using one of McMahon Five Designs newest image called "Gift Of Spring". I created this lovely little Easter Basket which I also included a step by step tutorial on how it's made. I hope you enjoy it!
Thanks for popping in. Hugs Bonnie
Supplies needed:
heavy card stock
decorative paper
punch
ruler
scoring tool
scissors
glue or double sided tape
embellishments
*****************************
***Please note the penny is showing so my camera had something to focus on***

Cut your heavy card stock measuring 21cm X 21cm
Score both sides at 7cm and 14cm creating 9 equal scored squares
Cut on scored line as shown opposite to each other
Use your decorative punch on both sides that are not cut
Use glue or double sided tape and fold the cut ends creating basket
This is what your basket should look like at this point
 Use punch to make the basket handle measuring approximately 4cm wide X 22cm long
 Add decorative paper to your handle then use double sided tape or glue to attach the handle to the inside of the basket
Add panels using your decorative designer paper to the outsides of basket.
Embellish as desired adding goodies to the inside making it a fabulous gift! Good luck and have fun.
I am submitting my card into the following challenges
Our Vintage Affair April altered Easter decoration

Related Posts Plugin for WordPress, Blogger...